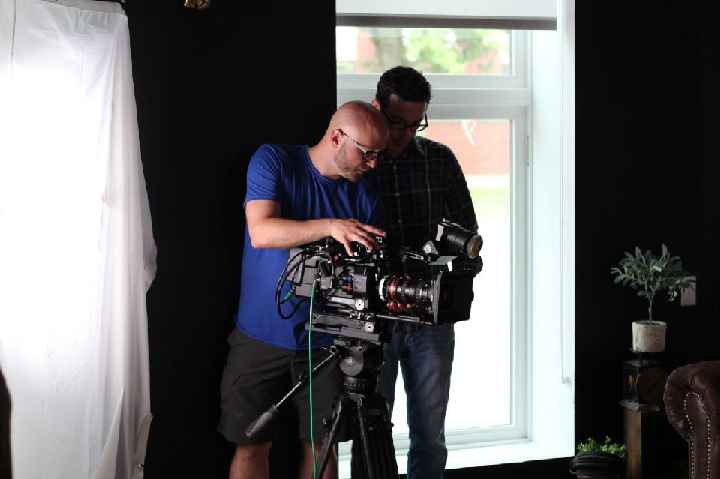
2D animation has been a mainstay of the video production community since the early days of Chiron text on the screen. Since then, artists and technologists have pushed the medium to the limit with complex ideas and growing applications such as Adobe After Effects. Simple text over video has grown into entire videos, all animated, for the purposes of entertainment and education – including commercials, shorts, feature films, and television shows.
And it should come as no surprise that the creative community continues to push the envelope, which ultimately inspired the computer-generated 3D animation trend that began to take hold in the 1980s and continues to flourish as computers become faster and cheaper.
To the extent that the 3D space world is limitless and ever-evolving, working in 3D is extremely technical and time-consuming, making it more expensive. That said, the final results are always worth it when executed correctly.
The Process of 3D Animation
There are many steps included in making a 3D animation video. Below is an overview of the basic 5-step process creators usually follow when working in this medium:
Step 1: Modeling:
Modeling is the stage where all the necessary objects and characters are made for the story. These could be buildings or trees, or text or something abstract. Whatever you need to tell your story can be created at this stage of the process. There are two ways to do this: by using a modeling tool and creating an object from scratch or scanning real objects and adjusting them as needed. 3D modeling is like sculpting, but instead of using clay, animators use polygons, geometric shapes, and computer-generated illustrations to create an object. The polygons are rectangular small shapes that are aligned in different arrangements to make a digital framework of a model. Using polygons and modeling tools gives creators more control over their objects, whereas simply scanning real-world objects saves time.
Step 2: Add Textures
This step is often time-intensive, and attention to detail is key here. If the framework of the object is created in the modeling phase of the process, the texturing phase is where the “skin” is added. In this process step, animators add personality to objects by adding textures. Obvious examples are fur or feathers, but even smooth surfaces such as countertops or 3D text require a texture to feel real to the viewer. Most designers spend considerable time adding texture to a model to make it look as realistic as possible. This step adds more depth to the design. This brings a sense of realism to the models and makes them a close representation of the real thing.
Step 3: Rigging
Rigging is the process of adding a skeleton or joints to these objects. This process can get technical and often requires a bit of experimentation early on, but it is essential to allow movement and range of the modeled objects. Imagine adding bones and joints to a human being. This is what rigging is. Only all objects require some kind of rigging to move throughout the animation. A walking person is the most obvious example here, but anything that moves will require some rigging.
Step 4: Set the Animation Environment
An animation environment is where your model will be able to come to life. The environment is the world of the video, in which the model resides. Here, the models come to life based on where they are placed in the environment. Besides physical characteristics, such as texture and objects, environments also offer the animator an opportunity to accurately light an object, add natural elements such as wind or water, and ground the animation in a specific mood.
Step 5: Keyframing
After your models are complete within your environments, you will go through the process of animating them. This is often done with the use of keyframes. Consider keyframes a point in time that determines the behavior of a model. Is it a flag waving in the wind or a ball that bounces from one building to another? Position, size, rotation, and environmental reaction are all adjustable at every video stage. Once everything is set the computer needs to store the information for each video moment. The keyframe stores all this data.
Step 6: Rendering
This is the final stage of the 3D animation process. Rendering an animation is like baking a cake. Before it goes into the oven, you have a bunch of ingredients loosely connected by the pan they are in. After the baking is complete you have a fully formed object that lives on its own (until you eat it). You take it out, put the icing on it (audio design in many cases) and bring it over to your neighbor’s house for a potluck dinner. Without rendering, you have no cake. The cake, in this case, is synonymous with a finished video that can be played on any computer without glitches or hiccups.
We hope all of the above steps give you a greater understanding of how 3D animation works and what you can expect from a professional 3d animation video team that you may partner with. The reality is the expense is most definitely worth it, especially when done right.
We’d love to help you develop the perfect 3D animation project—and the story that shapes it. To learn more about Bottle Rocket Media’s motion graphics services and our all-encompassing video production services, connect with us to start your video project.