We’ve all seen time-lapse videos that stop us mid-scroll. Clouds racing across the sky. A building rising in seconds. A sunset unfolding in a way you never notice in real life. These are the types of videos that grab attention fast, and for good reason.
But here’s the truth. Creating a time-lapse video isn’t just about hitting record, then speeding things up. There’s planning involved, and if you skip that step, the result usually looks disappointing.
If you’re wondering how to create a time-lapse video that’s actually worth watching, you’re in the right place.
In this article, you’ll learn the exact steps experts use to create time-lapse videos that look professional and engaging.
1. Choose the Right Subject and Scout the Location
Before choosing a video topic, ask yourself: in 30 seconds, will the viewer actually see a progression happening? If the answer is no, it’s probably not a strong video idea.
When choosing the subject for your time-lapse video, look for things that clearly change over time. Sunrises and sunsets are perfect. Lighting shifts, colors change, and the scene feels alive.
Nature works well, too. Plants growing, flowers opening, waves crashing, waterfalls flowing. All of these have natural motion that looks great when sped up.
If you’re thinking of something outside of nature, consider filming long projects. Construction, home renovations, gardens changing with the seasons, or even someone painting a mural or baking a cake can be perfect for a time-lapse video.
After you’ve found your subject, think about your location. Locations can save or ruin your project. Imagine filming a construction site for a month, then halfway through, a sign or truck blocks your view. That footage becomes useless.
To avoid this, visit your desired location at the same time of day you plan to shoot. Don’t forget to check your angles and look for anything that could block the shot. Take into account how the sun moves to avoid shadows, glare, and reflections.
2. Set Up Your Camera Before You Start Shooting
The first thing to do when filming a time-lapse video is to switch your camera to Manual Mode (M). Auto modes change brightness and focus on every shot. If you turn those photos into a video, all those tiny changes show up as ugly flicker. To avoid this, here are the settings you should lock in instead:
- Shutter speed: Shutter speed is how long the camera takes each photo. For time-lapse, slower is better. Slow shutter speeds create smooth motion blur, which looks more natural. A good starting point is to set your shutter speed to about half of your interval. If you take one photo every 4 seconds, try a 2-second shutter.
- ISO: Keep ISO as low as you can. Low ISO means cleaner images with less grain. Aim for ISO 100 or 200. In low light, you might need 400 or 800, but don’t go higher unless you have to.
- Aperture: Set a higher f-stop, like f/16, to keep more of the scene in focus. If there’s not enough light, open it up to f/8 or f/11. Balance sharpness with proper exposure.
- Focus: Turn off autofocus. Autofocus will hunt and shift between frames, making the image pulse. Manually focus once, then leave it alone.
- White balance: Don’t use auto white balance. It causes small color shifts that are very noticeable in time-lapse. Instead, pick a preset that matches your scene, like sunny or cloudy, and lock it.
Locking in these settings gives you consistent frames that stitch together smoothly in post, eliminating focus shifts and color jumps. A few extra minutes setting your camera correctly upfront will save hours of fixing problems later and result in a professional time-lapse.
3. Calculate Your Interval & Frame Rate
Timing is a key part of creating a time-lapse video that feels smooth rather than jumpy.
Let’s break it down in a simple way.
An interval is the time between each photo. If your interval is 2 seconds, the camera takes one photo every 2 seconds. Frame rate is how many images are displayed per second in your final video. Common frame rates are 24 fps or 30 fps.
Here’s the basic idea you need to understand:
- To find out how many photos you need calculate the following: Final video length (seconds) × frame rate = total photos
- To find your interval take heed to: Total event time (seconds) ÷ total photos = interval
Let’s walk through a real example.
Suppose you’re filming a sunset for 2 hours, and you want your final video to be 30 seconds long at 24 fps.
First, how many photos do you need? 30 seconds × 24 fps = 720 photos.
Now, how long is 2 hours in seconds? 2 hours × 60 minutes × 60 seconds = 7,200 seconds.
So your interval is: 7,200 seconds ÷ 720 photos = 10 seconds between each photo.
So your camera should take one photo every 10 seconds for 2 hours. Play those photos at 24 fps, and you get a smooth 30-second video.
For most scenes, the sweet spot is usually between 2 and 10 seconds. Slow changes like construction or flowers can use longer intervals. Fast movement, like clouds or traffic, needs shorter ones.
Don’t worry about doing the math every time. Using a time-lapse calculator online makes it easy. The key is understanding why you’re choosing a certain interval, not memorizing formulas. A properly calculated interval keeps motion smooth and pacing consistent in your final video, leading to noticeably better results.
4. Use a Strong Tripod
In a normal video, small camera shake isn’t a big deal. Your eyes tend to forgive it. In time-lapse, however, those tiny shifts get magnified across hundreds or thousands of frames. Even a slight wobble can turn into visible jitter that distracts from the shot and makes the final video feel amateur.
This is why having a strong tripod is essential. If the camera moves even a little between frames, there’s no easy way to fix it in post without heavy cropping or stabilization that degrades image quality.
So, what kind of tripod actually works?
For short indoor shoots, a basic tripod on a stable surface can work well. For outdoor shoots or long recordings, choose a heavier, more solid tripod designed to handle wind and uneven ground. Look for sturdy legs, secure locking mechanisms, and a head that doesn’t drift over time. Adding weight to the tripod, like hanging a bag from the center column, can also help keep everything locked in place, making for a smoother video.
5. Use ND Filters
If you’re shooting in bright daylight, you need ND filters. They’re one of the most overlooked tools in creating time-lapse videos.
ND means Neutral Density. These filters reduce the amount of light entering your lens without changing colors. Think of them like sunglasses for your camera.
Why does this matter? Because less light lets you use slower shutter speeds, even in bright sun. Slow shutter speeds create motion blur, and that blur is what makes time-lapse look smooth and cinematic.
Without an ND filter, bright sunlight forces fast shutter speeds. The result looks sharp but choppy. Try slowing the shutter without an ND, and your image just blows out and turns white.
When should you use an ND filter?
Almost anytime you shoot outdoors during the day. Water, clouds, traffic, and people all look better with motion blur.
6. Plan Long Shoots with Power and Storage in Mind
Batteries and storage can end a time-lapse very fast if you don’t plan ahead.
If you’re using your smartphone, you’ll need a power solution. Smartphones drain battery quickly while recording, especially at high resolution. The easiest solution is to plug it into a wall charger indoors or a power bank outdoors.
With DSLRs and mirrorless cameras, buy extra batteries. Like, more than you think you need. Cold weather drains batteries faster, so if you’re shooting in winter, plan for even shorter battery life.
Time-lapse videos eat storage fast. One high-resolution photo can be around 50 MB. Shoot 300 frames, and you’re already at 15 GB. A month-long shoot can easily pass 100 GB.
Before you start, estimate how much space you’ll need. Couple that with fast, reliable SD cards, like U3 or V30 cards made for continuous writing. Cheap cards fail, and when they do, everything will be gone.
For long projects, use backups. Many cameras and apps support automatic cloud uploads. Services like UpBlink and CloudX upload images as they’re taken. This protects your work and frees up local storage. If something breaks, your footage will still be safe.
7. Use an Intervalometer
An intervalometer controls how often your camera takes a photo, and it keeps that timing consistent from start to finish.
Many modern cameras already have one built in. Phones often handle this through apps. But if yours doesn’t, an external intervalometer is a simple and affordable solution.
Why does this matter? Because manual shooting isn’t realistic for time-lapse. Consistent timing is what makes movement feel smooth and intentional.
Before you begin, make sure you have a reliable way to trigger your shots automatically. It’s a small detail, but it plays a big role in how professional your final time-lapse video looks.
8. Apply Proper Editing Techniques
Your editing software is where your time-lapse really comes to life. Different tools do different jobs, so choosing the right one matters.
- LRTimelapse: This is made just for time-lapse. It removes flicker, handles day-to-night changes smoothly, and works with RAW files. You can use it alone or with Lightroom. If you’re serious about time-lapse, this tool is worth learning. It can export up to 8K and supports pro formats like ProRes.
- Adobe Premiere Pro: This is a full video editor. You can arrange frames, change speed, fix colors, add effects, and add music. If you already use Photoshop or Lightroom, it fits right in. It’s powerful, but it takes time to learn.
- Final Cut Pro: If you use a Mac, this is a great choice. It’s fast, clean, and easy to use. The color tools are strong, and they cost less than Premiere.
- PowerDirector: This is good for beginners. The layout is simple, it has lots of built-in effects, and it supports 4K. It’s not as advanced as Premiere, but it’s much easier to use. It also has helpful AI tools like auto color correction.
- After Effects: This is for advanced effects and motion graphics. If your time-lapse is part of a bigger visual project, this is the tool. It gives you deep control over speed and effects, but it’s not beginner-friendly.
9. Use RAW Format for More Control
RAW files keep all the data your camera captures. Nothing is thrown away. JPG files are smaller because they remove a lot of that data. When you’re working with hundreds or even thousands of frames, that extra data makes a big difference.
Why does RAW matter for timelapse? Picture a sunset time-lapse. The sky is very bright, but the ground is dark. With JPG, you have to pick one exposure and live with it. With RAW, you can bring back detail in the sky and also lift the shadows in the foreground during editing.
RAW also gives you more room to adjust colors. You can adjust white balance, highlights, shadows, and saturation without sacrificing image quality, unlike with JPG.
There are some downsides, though. RAW files are big. One RAW photo can be 50–100 MB, while a JPG might be around 10 MB. Shoot 300 frames, and you’ll need a lot more storage.
RAW also takes more time to work with. The files have to be processed before editing, which slows things down.
So when should you shoot RAW?
For serious projects like construction time-lapses or day-to-night shots, yes. RAW gives you the flexibility you’ll want later. For a quick phone time-lapse of clouds, it’s usually overkill.
If you shoot RAW, batch edit your photos first in Lightroom or LRTimelapse. Apply the same exposure and color settings to all frames. Then export them as high-quality JPG or ProRes and finish the edit in your video software.
10. Check Your Progress and Plan for Mistakes
Long-term time-lapse projects can fail without warning. Everything looks fine on day one, but something breaks on day three. You only find out weeks later, and all that work is gone.
To better monitor your project, use cloud services like CloudX and UpBlink to see your camera output in real time from anywhere. If something goes wrong, you get alerted right away instead of finding out too late.
If the project is on location, visit it every few days. Take 10 minutes to check that the camera is level, the view is clear, the memory card isn’t full, the battery is working, and nothing is blocking the shot. Catching small problems early saves the whole project.
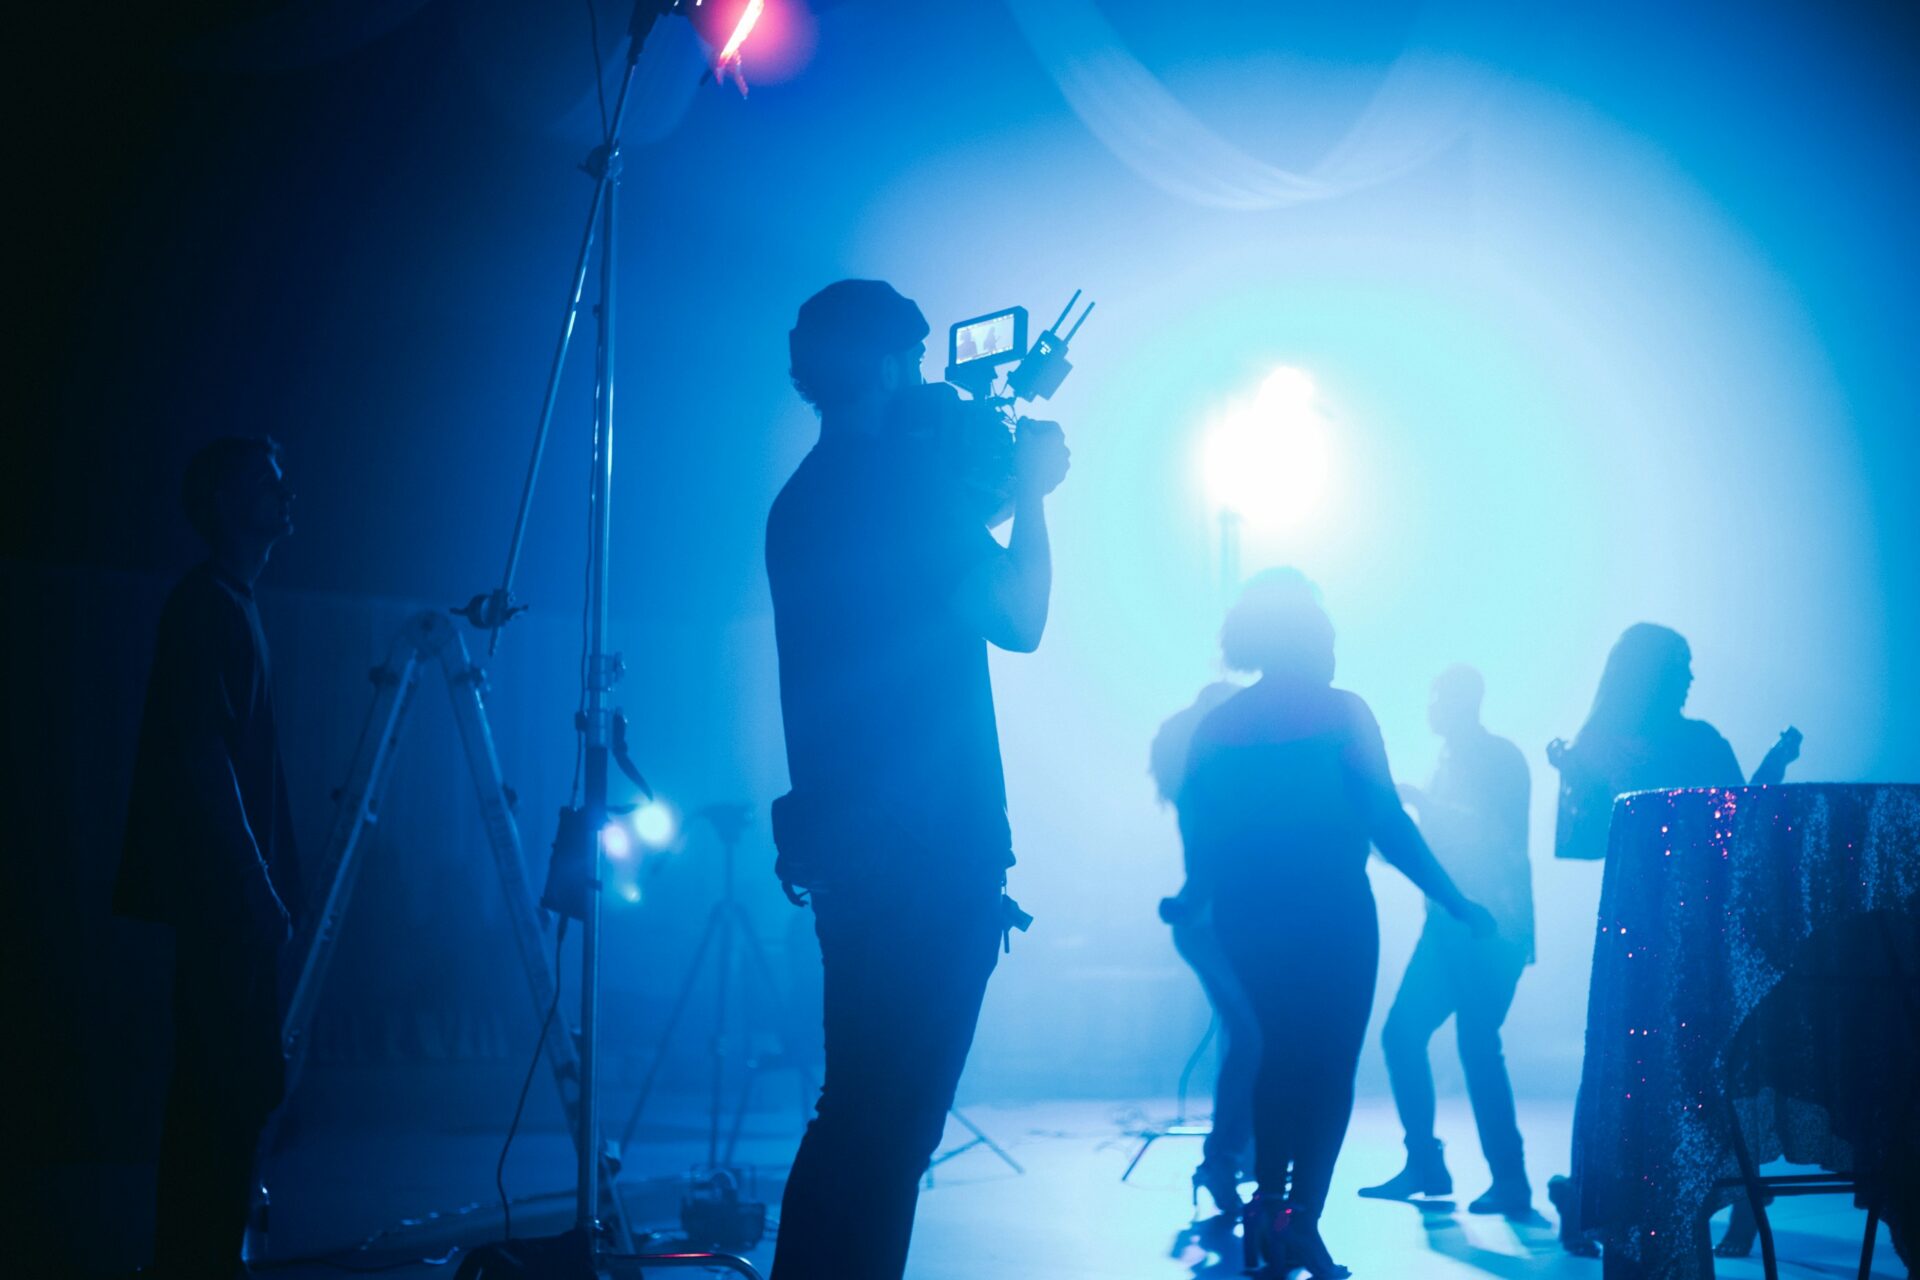
Should You Work with a Professional Video Production Company for Your Time Lapse Video?
At first, time-lapse sounds simple. You just set up a camera, wait, and hit play. But as you’ve seen, a good time-lapse video takes planning, technical skill, patience, and a clear creative goal.
If you’d rather focus on the idea instead of worrying about gear, settings, and mistakes, working with a professional team helps a lot. A video production services company handles the details and knows how to turn a concept into a clean, cinematic result.
When you partner with Bottle Rocket Media, you get experts who understand visual storytelling and know how to manage complex shoots from start to finish.
If you want a professional time-lapse video, we are ready to help. Let’s create something people actually want to watch.