Marketing and promoting your business with social media is essential.
However, in this day and age, it isn’t enough.
If you want more clients or customers, you need explainer videos. With an effective explainer video, your audience can learn more about you, your brand, and what you stand for, helping you build stronger connections with potential clients.
So, what exactly are explainer videos?
An explainer video is a short, impactful marketing video that communicates the complexities of your business, service, or product. They can be placed on landing pages, your website, social media, or even in email campaigns.
As you reconsider your marketing strategy and move forward with incorporating video into your plans, consider how an all-encompassing explainer can elevate your next campaign.
Read on to learn how to create an explainer video that connects and converts.
How to Make an Explainer Video Step-by-Step
There are several steps to follow when making an explainer video. To make it easier for you, let’s look at each step in detail.
But first…
Check out this video we created for Sarepta Gene Therapy, a great illustration of how storytelling and visual design can bring even the most technical topics to life in a way that’s both human and inspiring.
1. Define Your Goal and Audience
Writing a script for an explainer video is typically the first step. However, before you even think about a script, you must define your video’s goal and identify your target audience.
To start, think about exactly what you are trying to explain and the best way to do so. What do you want viewers to learn, feel, or do after watching your video? Clearly outlining your message and desired outcome will help you determine which content belongs in your video and which doesn’t.
Consider the individuals in your audience by asking these questions:
- Can they follow each step easily?
- Will your explainer video appeal to them?
- Can they understand the message you want to convey?
- Will the audience be pleased with the explanations in the video?
Once you’ve defined your purpose, outlined the key points your audience needs to know, and visualized how you’ll deliver them, you’re ready to start writing your script.
2. Write A Script
Your script is the backbone of your explainer video. It guides everything from visuals to voiceover, so having it locked in before filming helps you stay focused and efficient.
During this initial stage, you’ll want to address any issues, concerns, or questions that need to be resolved. As you prepare to write a script, ask yourself:
- Who are you?
- What is the primary message of your brand?
- What is your product or service?
- Who is your target audience?
- What problem are you solving for your target audience?
- What is your call to action?
- How can you simplify your message concretely and compellingly?
- What are you trying to convey to your audience?
Once you’ve drafted your script, share it with your team for fresh eyes and honest feedback. Collaboration at this stage often sparks stronger ideas, sharper messaging, and new ways to tell your story.
As you polish your script, check it against your “why.” Every scene, line, and transition should serve your story and speak directly to the people you want to reach. That’s how you build a connection.
3. Choose the Right Format and Style for Your Brand
Now that your script is ready, think about how it should look and feel. The format and style you choose should reflect your brand’s personality and make the story feel unmistakably yours.
Types of explainer videos to consider:
- How-To Videos: When your audience needs to see how something works, a how-to video is perfect. It walks them through each step in a clear, straightforward way, helping them understand your product or service while showing the real value it brings.
- Story-Driven Videos: Sometimes your audience wants more than just instructions. A story-driven explainer video highlights who you are, why you exist, and how your brand fits into their world. It’s your chance to connect on an emotional level and leave a lasting impression.
- Animated or Motion Graphics Videos: If your message is complex, data-heavy, or you just want to keep things visually dynamic, animation and motion graphics are your best friends. They simplify challenging concepts, add energy, and keep viewers engaged from start to finish.
As you choose your format and style, picture how you want your audience to feel. Do you want something real and human, sleek and animated, or a blend of both? The tone, length, and visuals should all work together to capture that vibe.
No matter which direction you choose, the key is to make sure your video feels authentic to your brand and connects with your audience. For example, this explainer video we created uses bright and colorful animation that aligns with the Singleton Foundation’s website.
4. Choose Your Location
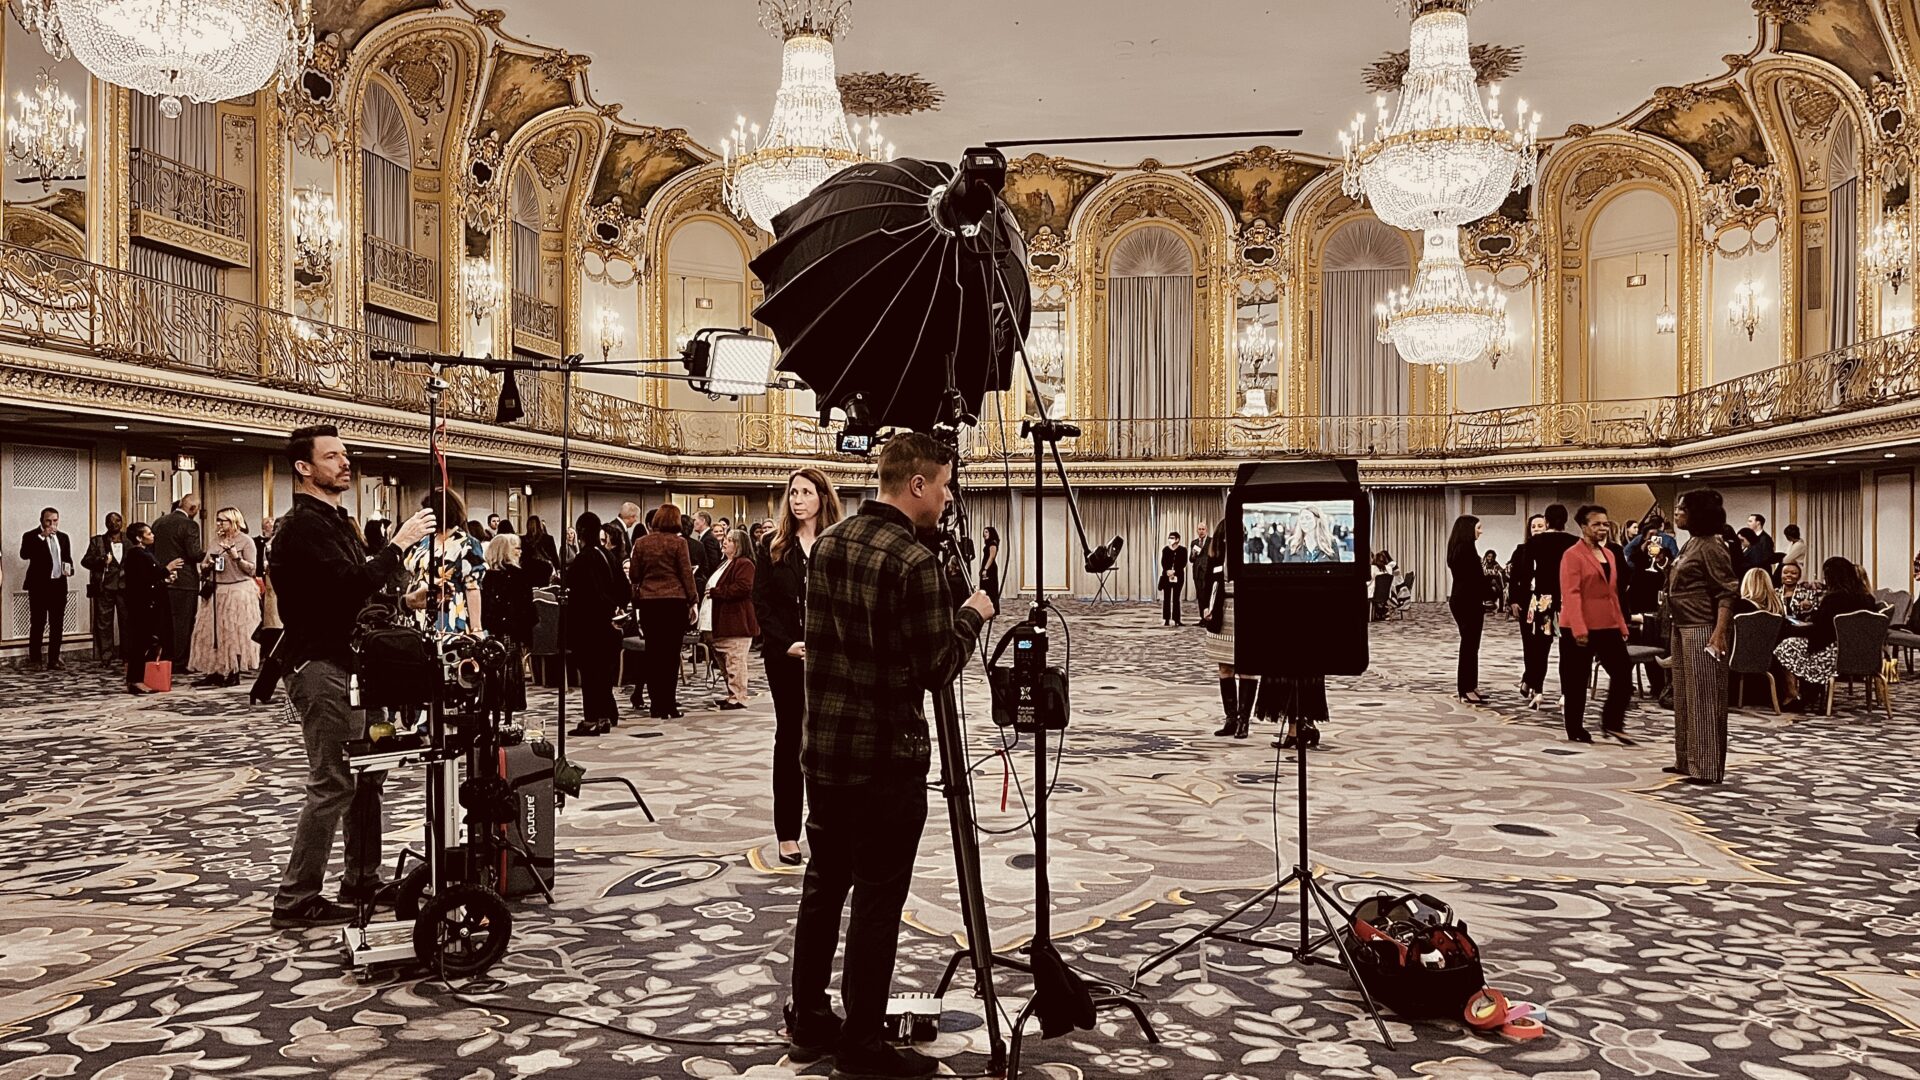
If you’ve decided that your explainer video should feature real people, the next step is choosing the right setting. Depending on the script, your explainer video can be filmed indoors or outdoors.
With an indoor location, you have control of your surroundings and can avoid interruptions. This is ideal, especially for an explainer video that has a person onscreen or a voiceover providing a step-by-step guide.
Advantages of indoor filming include:
- Complete control of the environment
- More privacy
- Control of the lighting
- Access to plugs and outlets for electricity and cables
- Fewer distractions caused by outside factors
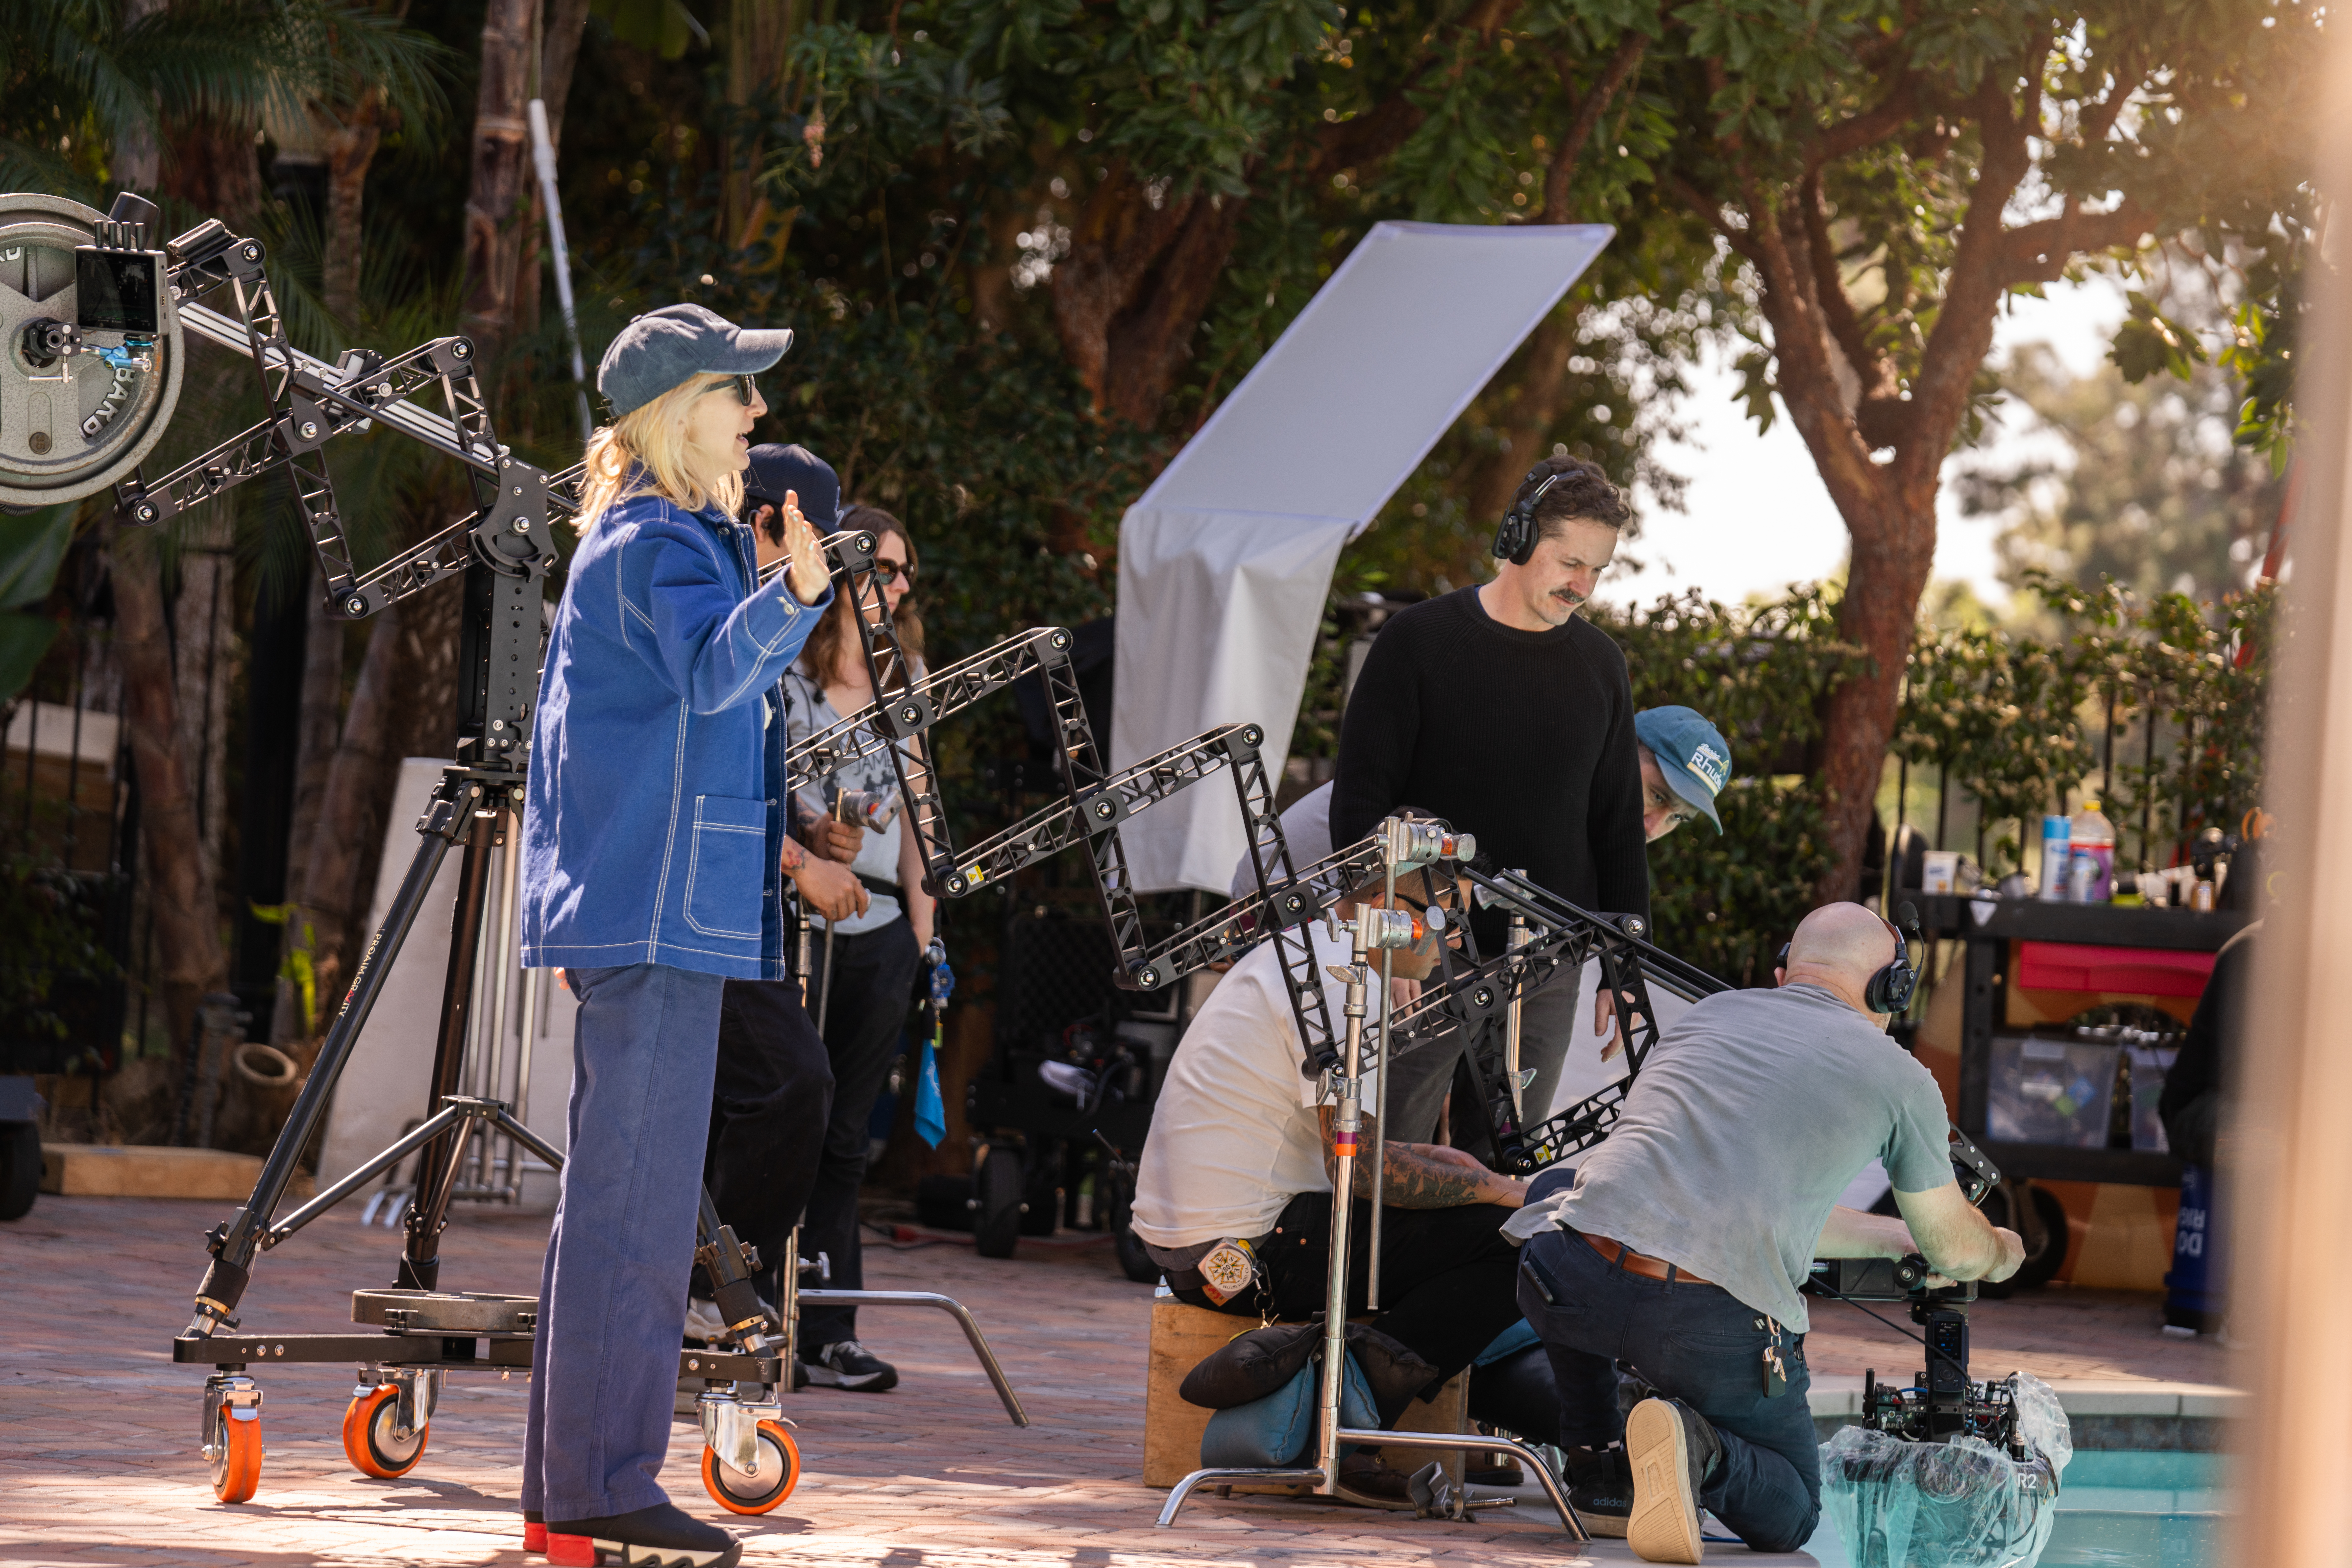
When outdoors, however, you have less control over the environment. Natural light, weather, and background noise can all influence the outcome of your video.
Here are some of the cons associated with filming outdoors:
- Background noise from traffic, loudspeakers, or animals
- Poor weather or harsh wind interrupting the audio
- Unpredictable lighting due to changing clouds, weather, etc.
- Production equipment logistics, such as the transportation of cameras, lights, and audio equipment
- Needing written permission to film in certain areas
But filming outdoors is not all bad. Outdoor filming can also make your video feel more authentic and visually engaging, especially when you’re trying to capture energy, movement, or real-world interaction. If your script calls for an outside shoot, just have precautions in place to avoid any unwanted interruptions.
Ultimately, the best location depends on your story and audience. Whether indoors or outdoors, your setting should support your message. Once you’ve chosen the right environment, the next step is selecting the people who will bring your story to life on camera.
5. Select Who Will Be on Camera
Every story needs a face. Once your script is finalized, think about who can deliver it with authenticity and ease. The right on-camera presence, whether it’s a teammate, a customer, or an actor, can turn an explainer video into something people actually connect with.
When selecting the face of your explainer video, ask yourself:
- Should more than one person be onscreen or speak during the video?
- Should this person be the face of the company?
- Does the person speak well, and can they be understood clearly?
- Is the person knowledgeable about the topic being discussed?
- Can the person entertain or easily engage your audience?
It often works best to feature someone who embodies your brand, like a founder, CEO, or marketing lead who can speak with genuine passion and clarity. Their connection to the story adds credibility and warmth. Once you’ve found the right person, share the script with them early, walk through the key moments together, and align on tone and pacing. Collaboration here sets the stage for a confident on-camera performance.
6. Record Your Explainer Video
Now it’s time for the recording process to begin. When recording your explainer video, consider doing the following:
- Make note of equipment such as lights or stands
- Monitor actors and crew
- Take multiple shots using unique camera angles
- Acknowledge any edits needed for the script as you go along
- Prepare wide, close-up, and other shots for post-production
- Recognize which shots are usable or unusable
The recording process takes time, but as you perfect your filmmaking skills, you’ll start to see how every detail, each angle, take, and adjustment, comes together to form a cohesive story. So, keep experimenting, stay patient, and remember that every frame brings you one step closer to creating an impactful explainer that represents your brand.
7. Edit Your Explainer Video
Once you’ve gathered your shots, it’s time to put your creative skills to the test and edit your footage. This is where your story truly comes together, and visuals, sound, and pacing all become intertwined to deliver your message.
The editing process may include:
- Trimming and cutting footage
- Adding voiceovers
- Adding graphics or animations
- Selecting appropriate music or sounds to add
- Deciding on a clear beginning, middle, and end for your explainer video
All great explainer videos include precision-timed cuts and alignment with your chosen audio. As you refine your edit, focus on flow and emotion so that each transition, sound cue, and visual element feels intentional. A well-edited explainer video will leave your audience inspired to take action.
Check out this one we created for Chase, inspiring users to use Chaseflow 360.
What Makes A Good Explainer Video
A great explainer video should grab attention, simplify your message, and keep your audience watching until the very end. The goal for every explainer is the same: make your message clear, creative, and memorable.
If you’re wondering how to create an explainer video that does all that, it starts with blending strategy with story. A good explainer video should be entertaining, educational, and purpose-driven.
The most effective ones include:
- Compelling motion graphics or animations
- Data about the subject discussed
- Clear understanding of the topic
- New or interesting information for viewers
- Organized steps to follow
- Contact information for next steps
By combining these elements, you’ll create a positive experience for the viewer. It becomes a piece of storytelling that your audience can easily absorb, remember, and act on.
How to Measure the Success of an Explainer Video
Once you’ve completed each step to create your explainer video, how can you measure the success of your hard work? After all, you’ll want to know whether the video gained traction online or resonated with your audience.
Some of the many ways to measure the success of an explainer video consist of:
- How often your video was watched.
- How many times your video was shared on social media.
- If viewers contacted your business as a result of the information provided in the explainer video.
- If interactions with your social media accounts increase.
- Seeing an increase in website views?
Your view count, watch time, and audience engagement should be your primary focus, as they reveal how well your video captured attention and drove connection. Promoting your video across multiple online spaces helps it reach new audiences, keeping your message alive after the initial launch.
Finally, remember that data tells a story, too. Look outside of the numbers to understand how people are responding. Comments, feedback, and repeat views often reveal emotional impact and brand trust. Use those insights to refine your next video, strengthen your strategy, and continue building a connection that converts curiosity into loyalty.
Conclusion
At Bottle Rocket Media, we specialize in video production, motion graphic, and video marketing services. Whether you’re curious about how to create an explainer video or looking to bring your next campaign to life, our team knows how to turn ideas into cinematic stories that resonate.
Contact us today to speak with a knowledgeable team member who can assist you in all of your production needs.


