Creating professional videos doesn’t have to feel overwhelming.
Welcome to your guide to video production, a simple, step-by-step look at how great videos come together. Think of it as video production 101, designed to demystify the process of filming and editing, so you can create content that looks and sounds professional.
We’ll walk you through the three main phases of video production: pre-production, production, and post-production. You’ll learn how to plan your shoot like a pro, film with confidence, and edit your footage into a final video that truly represents your brand. Along the way, we’ll share insider tips that help you avoid costly mistakes, save time, and make your videos look and sound amazing.
By the end of this video production guide, you’ll have the clarity and confidence to tackle any project, whether you’re creating your first video or teaming up with a professional video production company.
Phase 1: Pre-Production
Before you pick up a camera or write a single line of script, you need to nail down exactly why you’re making this video and who’s going to watch it. This is the foundation of every successful video production, shaping every decision you’ll make moving forward.
1. Define Your Video’s Purpose and Target Audience
Start by asking yourself the hard questions:
- What specific goal are you trying to achieve?
- Are you looking to educate your audience about a complex topic?
- Are you wanting to sell a product, build brand awareness, or simply entertain?
Knowing your video’s purpose will determine everything from your shooting style to your video production budget allocation. For instance, a training video for employees has completely different requirements than a promotional video for social media, so consider all the necessary elements before you get started.
Once you’ve clarified your purpose, delve deeper into understanding your target audience. Create detailed viewer personas that go beyond basic demographics. You should ask yourself questions like:
- What platforms does your audience use?
- What time of day are they most active?
- What problems are they trying to solve?
- What type of content do they already engage with?
This research will influence your tone, pacing, visual style, and even the length of your final video. Your company’s video production strategy should align perfectly with how and where your audience will actually consume your content.
2. Create a Compelling Script and Storyboard
Your script is the blueprint for everything that happens next, so take your time with this step. Begin with a clear structure that serves the purpose of your video. No matter if you’re following a three-act structure or a problem-solution format, your script should have a logical flow that keeps viewers engaged from start to finish.
After finalizing your script, move on to your storyboard. A well-thought-out storyboard helps you visualize each shot, understand the pacing, and identify potential production challenges before you’re on set.
Include details like camera angles, movements, and transitions between scenes. Mix wide establishing shots with close-ups and medium shots to create visual interest. Cutaway shots and B-roll footage are invaluable during editing, so use them to help smooth out transitions or cover mistakes. Most importantly, think about how each shot flows into the next so that your final video feels cohesive.
3. Scout Locations and Secure Necessary Permits
Choosing the right location can make or break your video. The setting should fit your story and support your lighting, sound, and logistical needs. As any video production guide will tell you, taking time for location scouting makes for a smoother production and helps you avoid surprises on shoot day.
It’s essential to visit potential filming locations at the same time of day you plan to shoot to ensure the lighting aligns with your creative vision. Natural light changes dramatically throughout the day, so what looks ideal at noon might be completely different, or even unusable, by late afternoon.
While on site, test your cell phone reception to ensure reliable communication with your crew, clients, or stakeholders throughout production. Also, confirm whether any permits or permissions are required to film in that area, especially for public or privately owned spaces. Taking care of these details early prevents interruptions, so your shoot can run efficiently.
4. Assemble Your Equipment and Crew
The right gear and team are the backbone of a smooth video production. Before you start filming, take time to prepare both. Even the best ideas can fall apart without proper equipment or support.
Your equipment list should match your video’s requirements and budget, not your wishlist. Start with the essentials: camera, audio equipment, lighting, and support gear like tripods or stabilizers.
Create a detailed equipment checklist that includes backup options for critical items. Batteries die, memory cards fail, and cables get forgotten, so pack extra everything, especially for items that could shut down your entire production if they fail.
Building your crew depends on the scope and complexity of your project. Even smaller productions benefit from having dedicated people in key roles, such as camera operators, audio techs, or production assistants. The more organized your team and tools, the smoother your shoot will run.
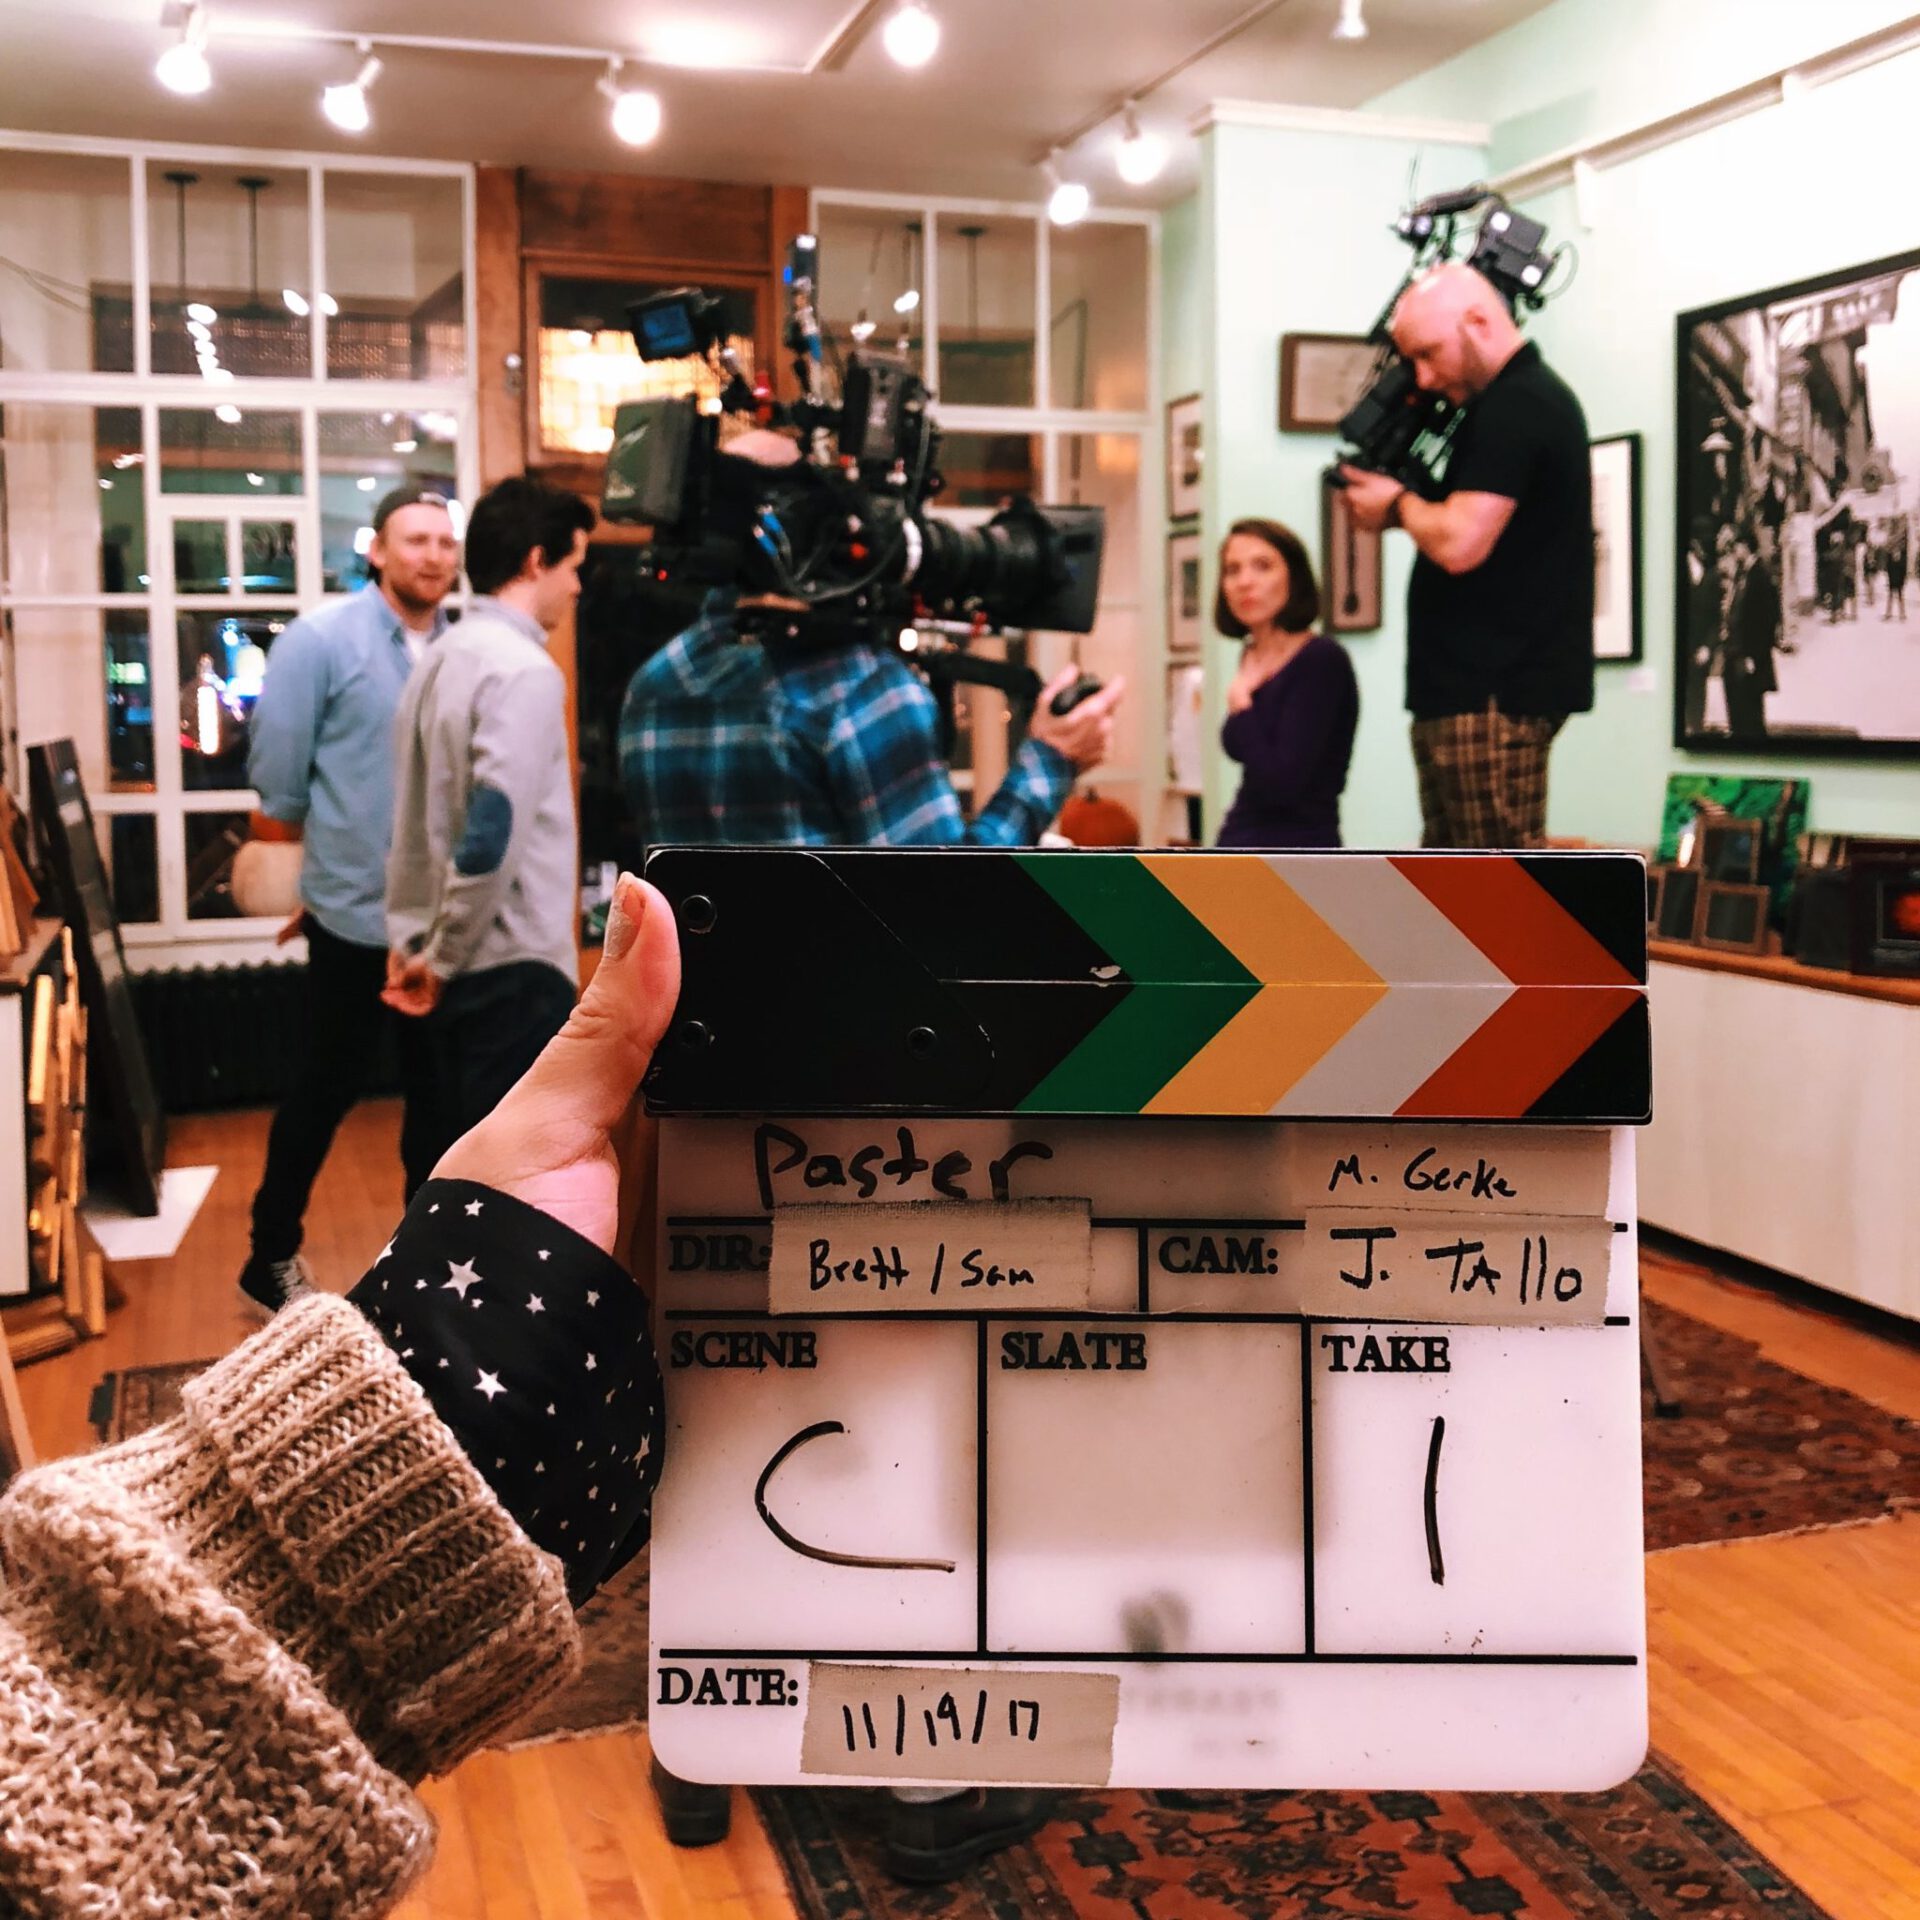
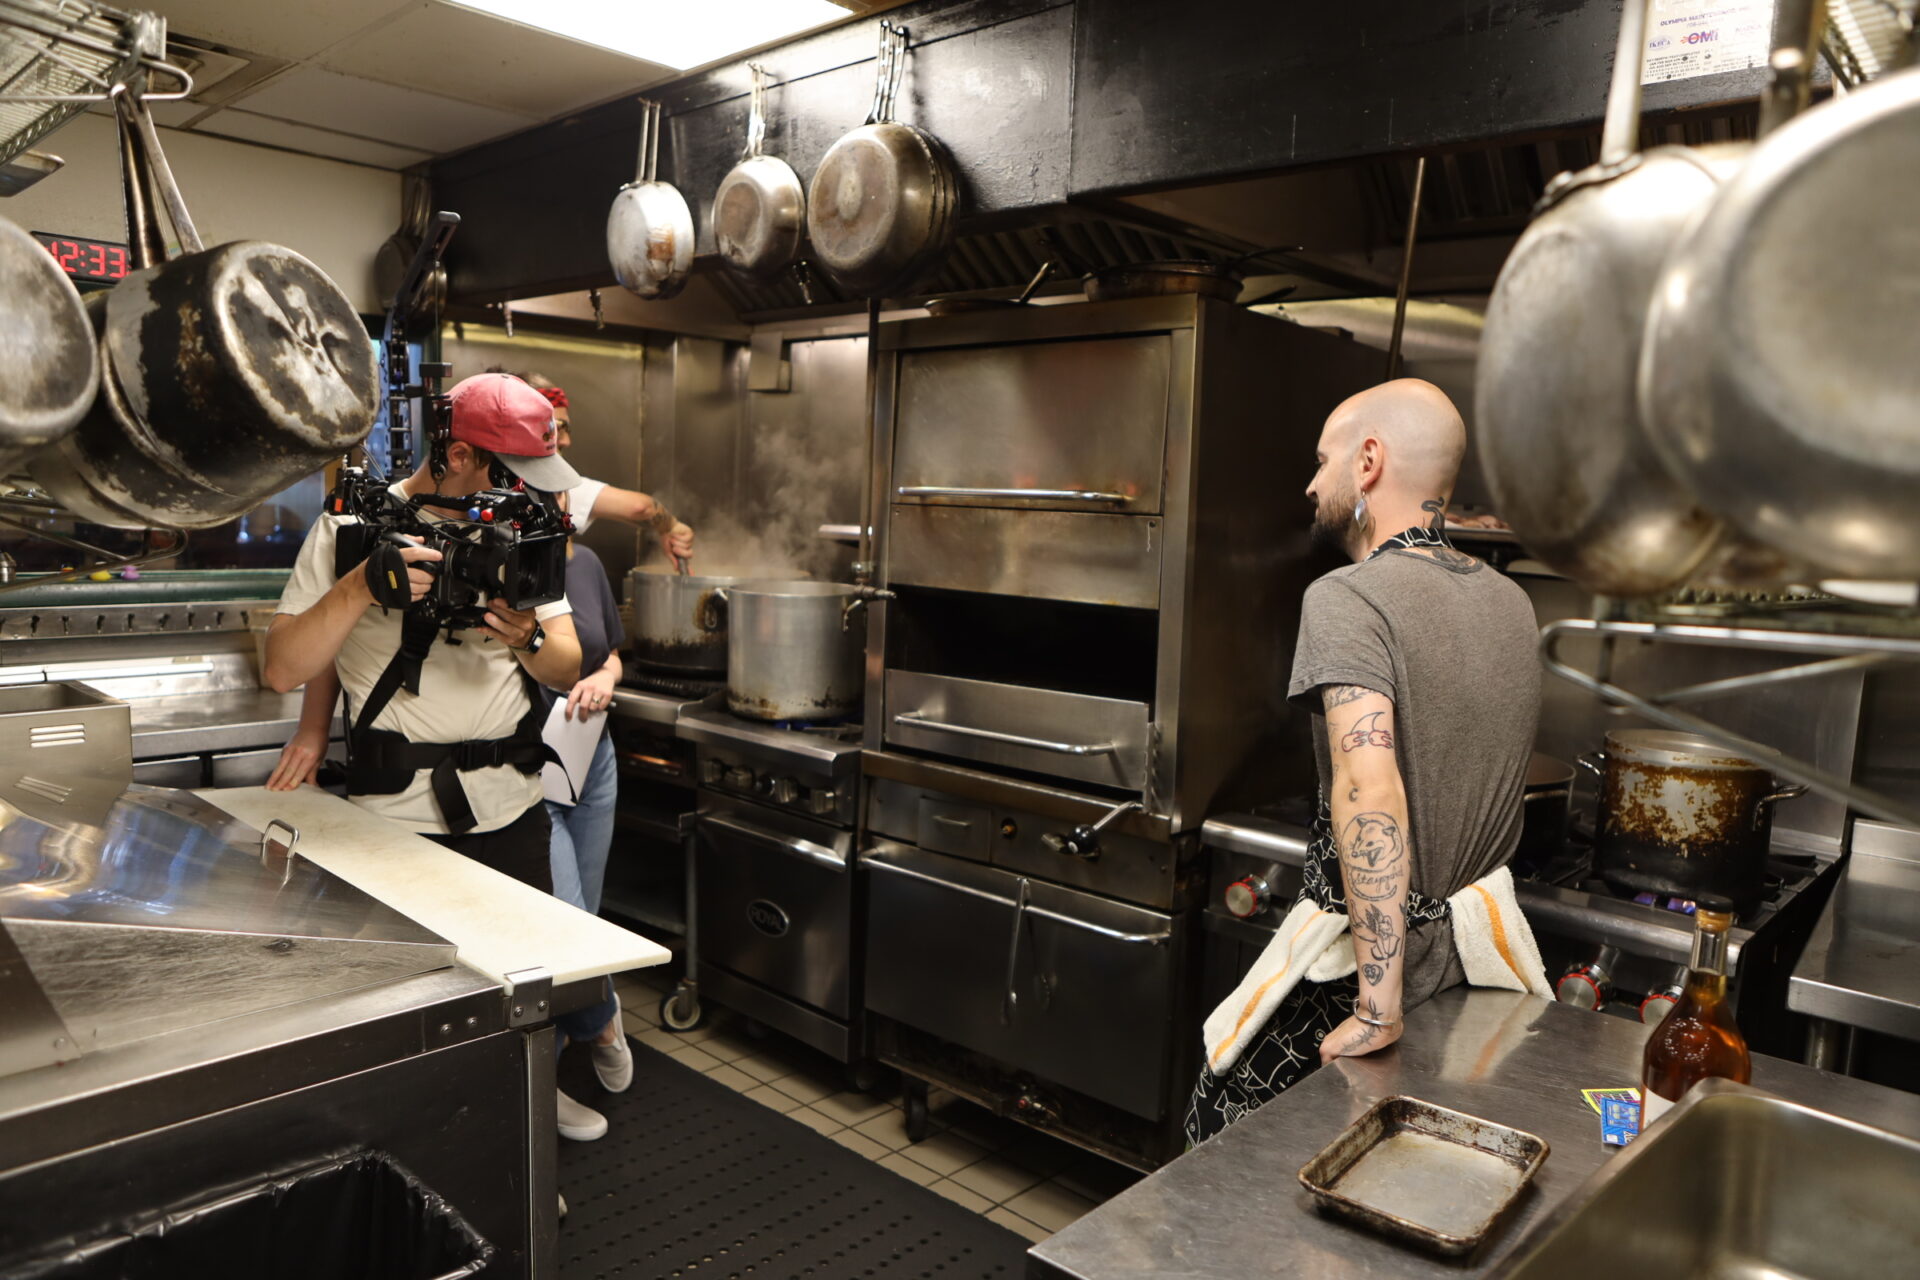
Phase 2: Video Production
Production is where your planning finally comes to life. It’s the moment your ideas hit the camera. This step takes spot-on execution, clear communication, and the flexibility to pivot when things inevitably go off script. In short, how smoothly this plays out usually comes down to the prep you did in pre-production.
1. Essential Equipment and Setup
Thanks to the gear that’s available for every budget and project, creating videos is easier than ever. High-end cameras deliver top-notch visuals and cool features, but even a smartphone can create awesome videos if you know how to use it right. The trick is figuring out what your gear can do and maximizing its potential.
When setting up your camera:
- Choose your resolution: Options typically include 720p, 1080p, or 4K. Higher resolutions offer more detail but require more storage and processing power.
- Select your frame rate:
- 24fps – for a cinematic, film-like look
- 30fps – ideal for everyday videos
- 60fps – best for capturing smooth motion or action shots
- 24fps – for a cinematic, film-like look
- Adjust key settings manually for full creative control:
- Exposure – controls the brightness of your image
- Aperture – affects depth of field and light intake
- Shutter speed – determines how motion appears in your footage
- Exposure – controls the brightness of your image
Follow the 180-degree rule: Set your shutter speed to roughly twice your frame rate (e.g., filming at 25fps = a shutter speed of 1/50) to achieve a natural-looking motion blur.
Good sound matters just as much as good video. Built-in camera mics often fall short, so using external ones can make a significant difference. Lavalier mics are well-suited for interviews, while shotgun mics excel at capturing sound in a specific direction.
2. Location and Lighting
Good lighting can make a huge difference. Knowing a few simple lighting tips can help you create eye-catching shots without incurring a significant expense. For indoor filming, sunlight streaming through windows works wonders. Shooting outside? Try capturing footage during the golden hour, early morning, or just before sunset, for soft, warm lighting.
3. Shooting Best Practices and Techniques
Keep your camera work simple and focused on the story. Zooms – the act of moving the camera lens closer to or farther from the subject – can help draw attention to key details when used intentionally. However, overusing them can make your footage look unpolished or even distracting. If you do need to zoom, keep the movement slow, smooth, and purposeful. Use a tripod to maintain stability, and consider sliders or gimbals to introduce gentle, cinematic motion instead of abrupt lens changes.
Phase 3: Post-Production
After wrapping up scripts, planning schedules, and capturing all your footage and audio on set, it’s time to jump into editing and the post-production video process. If you opt for the help of a professional video production company, the video team handles all the details to make your project a success. While they work, you can kick back and watch it all come together. Either way, the steps should remain the same.
1. Organize Your Footage for Efficient Editing
Your post-production workflow starts the moment you finish filming. Before you even open your editing software, take time to organize your footage properly.
Back up everything before you start editing. You don’t want to lose hours of work because of a hard drive failure. Consider the 3-2-1 backup rule: three copies of your data, stored on two different types of media, with one copy stored off-site. This might seem excessive, but professional video production demands this level of protection.
Sort your clips by scene, shot type, or chronological order and create bins or collections within your editing software to mirror your folder structure. This level of organization pays dividends when you’re deep into editing and need to find that perfect reaction shot quickly.
2. Choose the Right Video Editing Software for Your Needs
Your choice of video editing software is key to creating a professional post-production experience. Don’t automatically reach for the most expensive option either. The best software is the one that matches your skill level, budget, and project requirements.
Consider your computer’s capabilities too. High-resolution footage requires substantial processing power and storage, so choose editing software that aligns with your hardware to prevent crashes and slow rendering times.
3. Create Smooth Transitions and Professional Pacing
Good pacing keeps your audience engaged from start to finish. You control the rhythm through your editing choices, like when to cut, how long to hold shots, and which transitions to use between scenes.
Start with your story structure. Every cut should serve a purpose, whether it advances the narrative, reveals information, or creates emotional impact. Avoid cutting just for the sake of movement; sometimes, letting a shot breathe creates more tension and draws the viewer in more effectively than quick edits ever could.
When using transitions, be strategic. Simple cuts work best in most cases, while fades, wipes, and other effects should serve a clear storytelling function. For example, a fade to black can signal the passage of time, while a sharp cut maintains high energy during fast-paced moments.
4. Add Sound Effects and Background Music That Enhance Your Story
Audio affects at least 50% of your video’s impact, yet many creators treat it as an afterthought. You shouldn’t. Start by layering your audio thoughtfully. Have dialogue as your foundation, then add music underneath, followed by sound effects and ambient noise. Each layer should serve a specific purpose in your video production.
When choosing music, pick a song that complements rather than competes with your content. The music should enhance emotions without overwhelming dialogue or important sound effects.
Don’t forget about silence. Strategic pauses create emphasis and give your audience time to absorb and process the information, and removing all background noise creates more impact than adding layers of sound. Remember: poor audio quality immediately signals an amateur production, regardless of how good your footage looks.
5. Export Video Files in Optimal Formats for Different Platforms
Each platform has its own specifications that affect how your audience experiences your content:
- YouTube: Use MP4 files with the H.264 codec for best performance and compatibility.
- Instagram Stories: Format videos in a vertical 9:16 aspect ratio to fill the screen naturally.
- TikTok: Optimize for 1080×1920 resolution at 30fps to meet platform standards.
- LinkedIn: Use a square 1:1 aspect ratio to maximize visibility and engagement in the feed.
Consider your target audience’s viewing habits when selecting frame rates. Standard 24fps (frames per second) creates that cinematic feel viewers expect from narrative content, while 30fps works better for corporate videos and tutorials. Sports content and gaming footage shine at 60fps, providing smooth motion that keeps viewers engaged.
6. Review and Quality Check Before Publishing
Before publishing your video, create a systematic video production checklist that covers technical specifications, content accuracy, and brand compliance.
Start by aligning your title cards with your style guide, verifying that all graphics are correctly positioned, and double-checking that text elements remain readable on mobile devices.
Then, pay attention to the first 15 seconds of your video. This opening segment is the deciding factor in whether viewers keep watching or scroll past, so test it repeatedly.
Finally, run your video through different devices and internet connection speeds to simulate real-world viewing conditions. What looks perfect on your high-end workstation might struggle on a smartphone with limited bandwidth. Maintaining a smooth experience everywhere reinforces your professionalism and keeps your audience engaged.
7. Create Multiple Versions for Various Distribution Channels
Your 10-minute YouTube tutorial can become a 60-second Instagram teaser, three TikTok snippets, and a 30-second LinkedIn preview that drives traffic to your full content.
So start with your longest-form master version. From there, you can strategically edit shorter pieces that maintain narrative coherence. Each platform version should feel complete rather than like a random excerpt. To do this, consider creating platform-specific intro and outro sequences that feel native to each environment.
Develop templates for consistent branding across all versions, while respecting the unique culture of each platform. This approach will maximize your content’s reach while respecting how different audiences prefer to consume video content across various platforms.
Video Marketing with BRM
At Bottle Rocket Media, we understand that a successful video production project begins with a clear vision and a well-structured workflow. From the initial concept to the final delivery, our video production services are designed to maximize creativity while maintaining technical precision. Our team collaborates closely with clients to understand their goals, so that each video aligns with their brand identity and message.
Contact us today to get started and use this video production guide to help you throughout the process.